Did the first voltage measurements go successfully? Has the structure From part 1 Was fun? I would be very happy about that. Today it goes into the next round with measurement of electricity and resistance.
There was a question in advance. A reader could not compile his libraries. The reason for this was his selection in the board manager. For our D1 Mini V3 has Lolin (Wemos) D1 Mini Pro proven.

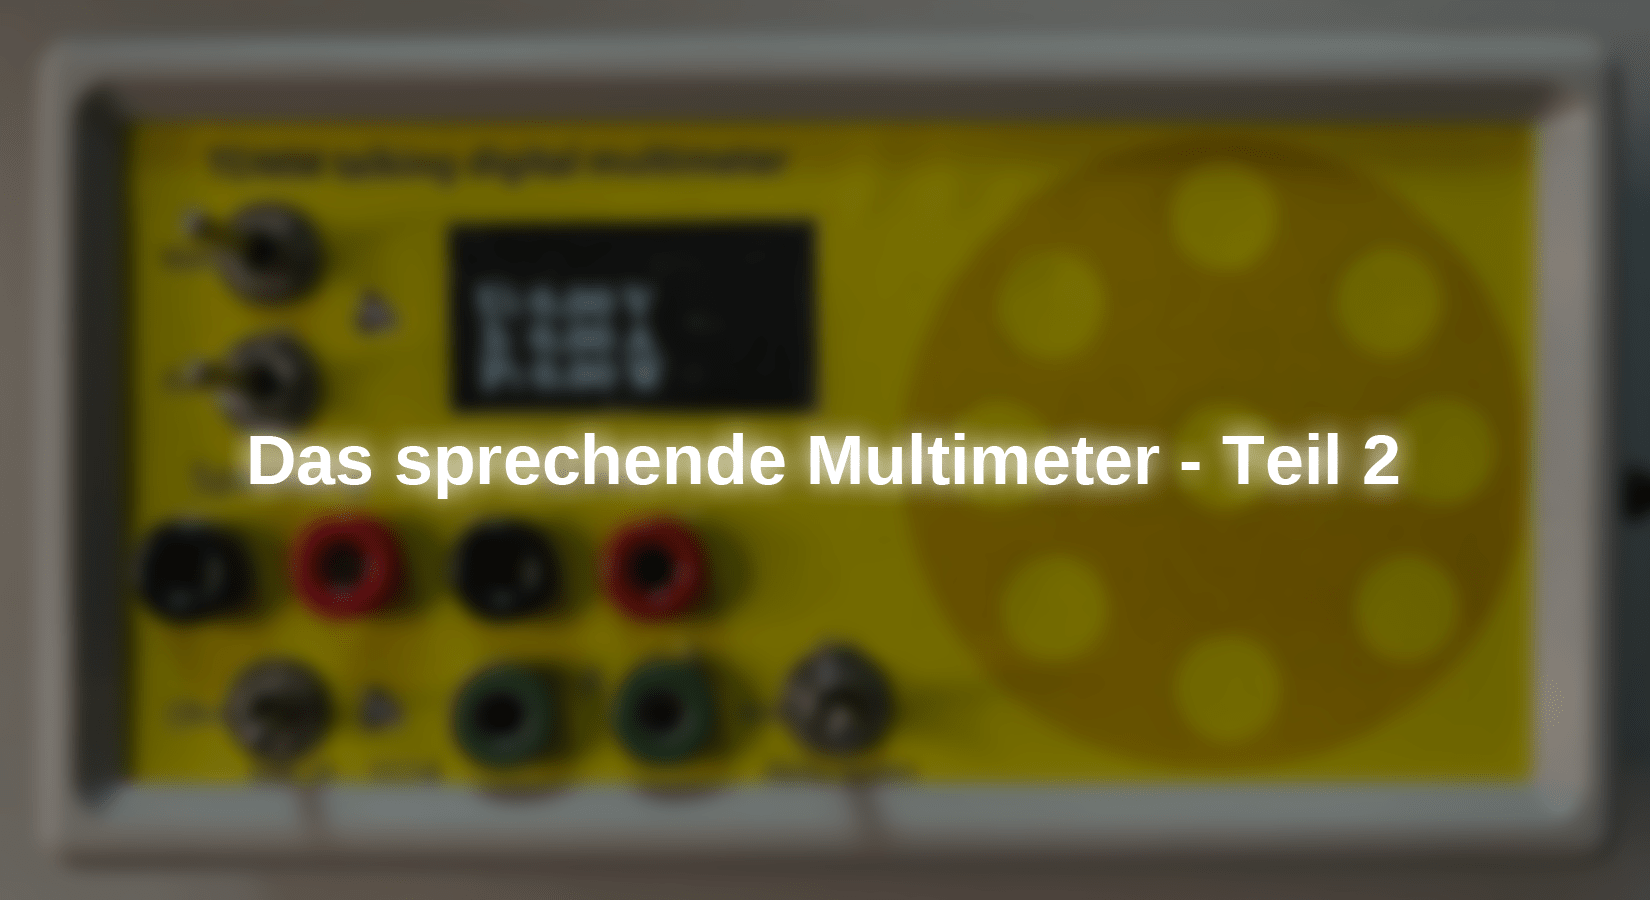
I installed my prototype in a small housing. He looks like this:
Today we expand the TDMM with:
- Current measurement
- Performance calculation
- Calibration of the TDMM for voltage and electricity
- Resistance measurement and passage tester
List of components:
Current measurement
The handling of the ACS 712 electricity sensor is very simple. The module is connected to the pen strip with GND and the +5 V power supply. The out-pin delivers a tension that depends on the current linearly. We measure this tension with the PIN A2 of the ADS1115. The direct current to be measured flows through the green screw terminals.
It looks pretty easy in theory. We take a closer look.
Hall effect
Perhaps one or the other still remember physics lessons. If a current -through conductor is in a magnetic field, you can measure a small voltage perpendicular to the current direction. As a picture, one can imagine that the electrons in the ladder are somewhat replaced by the magnetic field and are therefore a few more electrons on one side of the ladder than on the other side. And that is nothing more than a low tension. Before I sin through bad explanations of physics: Hall effect in Wikipedia.
If you put a suitable semiconductor in the magnetic field, send the electricity there and produce the whole as IC, the ACS 712 comes out, for example. It delivers a complete solution that we can use immediately, with a little computer.
Our ACS712 is designed for a maximum of 5a and - because of the Hall effect - it also shows us the direction in which the electricity flows. For every amper that is measured, the module provides a voltage of 0.185 V, with a suitable sign. (Other modules are also available for 20 a and 30 a electricity).
Without a current through the module, we measure a voltage of approx. 2.5 V. This value depends directly on the supply voltage, which should be properly stabilized.
If 1A flows through the sensor, the voltage increases to 2.5 V + 0.185 V = 2.685 V.
If the same current flows in the other direction, it is 2.5 V - 0.185 V = 2.315 V.
In the measuring range - 5a .. + 5a, the sensor output can assume the values 1.575 V… 3.425 V. We can easily measure this voltage with a single-ended channel of the ADS1115 (A2 in our case) and calculate the electricity from it.
The I2C integration is easy. The associated part in the sketch as well.
Possibilities of error
We will also calibrate the current measurement later. Before that, a few comments that cost me some sweat.
The photo of the prototype shows two switch "volt" and "ampere" to the left of the OLED display. A small loudspeaker symbol can also be seen there. Below the aluminum front panel that covers the housing, at the level of the loudspeaker symbol, is a microswitch that is switched with a magnet. To do this, I installed a small neodymicagnet in a pen. It was intended for testing. With this Microswitch, I trigger the voice output that we will get to know in part 3 of the blog.
Every time I approach the magnet of the front panel (aluminum is diamagnetic, so it hardly shields a magnet), "Spins" the ampere display. Depending on the position of the magnet, I can simulate “currents” up to 0.9 a. Even though the power connections are short -circuited for this attempt. There is no electricity at all.
I then tried it with a loudspeaker magnet and also had to replace the relay (later in this post) for the resistance measurement because it disrupted the current measurement. All magnetic fields in the radius are more or less disturbing the current measurement. In the event of a measurement on a power supply, in which voltage and electricity are measured at the same time, I had to hold 50cm distance from the "thick" network transformer so that the current display (without electricity) remains to 0.
The Hall effect also depends on the temperature and depends on the supply voltage that flows through the hall element. That is why there are only correct measurement results after calibration.
When I installed the power supply with the 4056 converter into the housing, I always had 1 A on the current display just because the converter scattered into the Hall sensor. You have the same effect when transformers, converter (the laptop power supply, for example) or other magnetic fields nearby. How strong the respective effect is can hardly be estimated. Just try it out ... and maybe play around with a magnet.
So please look at the current display when switching on the TDMM:
Is there really 0.00 A?
Breadboard build-up for electricity measurement
The circuit of the ACS712 and its integration into the existing Breadboard structure is very simple:

The sketch for electricity measurement
This part is clear: The measured value is in the for loop VAL_02 recorded. It comes from the analogue A2 of the ADS1115. In the next line will volts_02 calculated what the library automatically does. We already know this function from the voltage measurement.
VAL_02=0; dcurrent=0; dcurrenty=0; // Measure Current
for (intimately y=0; y<10; y++){
VAL_02 = Ads.readadc (2);
float volts_02 = Ads.Tovoltage (VAL_02);
dcurrenty = (volts_02 - 2.3955)*5.405; // Multiplier for 0.185 MV/A
dcurrent=dcurrent+dcurrenty*1.045; // Factor 1.045: Empirical Correction
}
dcurrent=dcurrent/10; // Mean Value of Current
String dcurrentx = String(dcurrent);
Serial.print("\ t"); Serial.print("I:"); Serial.print(dcurrentx); Serial.print("A");
Now some magic is happening. The measured voltage is reduced by 2,396 [V] in my very personal prototype. So I get the middle of my measuring range scale. There the current is exactly 0. This value must be adjusted later because other prototypes are the exact center with other values. So please do not be surprised if an ampere value is displayed, although no electricity flows through the sensor yet. The value must be 0 if the connections are connected (briefly closed) and no magnetic field disturbs.
The multiplier 5.405 is used to calculate the electricity from the measured voltage.
It was actually a bit unexpected for me that a minimal correction value was still necessary, which sets the calculated electricity value around 4.5% higher. This is the second part of the calibration. The factor was determined by comparison measurements with a professional 6½-digit DVM. This minor scatter is probably part of the manufacturing deviations that always exist.
If you want to display the direction of the electricity (+/-), you can remove the conversion of the electricity value into an absolute value ( ABS (Dcurrent ...).
Calculate performance
Since classic DVMs can only record one measurement variable at a time, you can find a performance calculation almost now. It is extremely practical. The calculation is limited to the product P = U X I with the measuring size [W].
Calibration of the TDMM for voltage and electricity
Now please take a deep breath. We try it without math and too many technical details. Because we want to achieve the accuracy of a 3½-digit DVM, whereby we can save ourselves a lot of pull-ups. But there is a little to do.
Comparative of the voltage measurement
We guide the input voltage via a voltage divider to the difference in the ADS1115. We have already mentioned a big plus: Due to the excellent simultaneous act suppression of the converter, we can focus on the manageable deviations in the voltage divider. In converter we have the internal reference voltage source - This avoids many problems.
I recommend the following process:
1. Switch on the device and let it run for about 72 hours. Tension input short -circuits; Electricity input short -circuit. It also makes little sense to make a comparison now. It is only worth it after three days.
Another advantage of this procedure: Electronic devices have a probability of default that corresponds to the "bathing wann curve". Either a device fails in the first few days or only after x thousand hours - then through aging. So a little patience is worth it.
2. Now they had three days to look around for a really reliable source of tension and/ or a DVM that they can trust 100%. My 6 ½-digit DVM was professionally calibrated two years ago. It does this service. But it doesn't have to be the small car class right away. A 4 ½-digit DVM, which is precisely accurate to +/- 1 LSB of the scale end value, is also well suited.
3. You now close a noise, reliable voltage source to the TDMM and in parallel to the comparison instrument. Take at least 10 - 20 measurements of 0.5… 25 volts and enter each value of the TDMM and the comparison device in a table. If you do the deviations, you will probably find that you are quite constant x % too big or too small. If you form the mean, you know the correction factor that is 22.87 in my sketch. It will probably be different with you. Please calculate, correct, flash and carry out the series of measurements again.
All of these measurements work provided that the ADS1115 works linearly. That means: If the voltage is x 5% higher than the voltage Y, it indicates a 5% higher value. With a Delta-Sigma converter, such as the ADS1115, this should always be the case, apart from deviations in the PPM area.
If it is fundamentally different with your measurements, please check the circuit, the entire structure and the sketch again. Then a systematic error has come in somewhere that needs to be found!
Comparative of the current measurement
They proceed the same as with the voltage calibration ... Ultimately, it is a voltage measurement that is about.
Take a correspondingly highly resilient resistance, a suitable voltage source and let electricity flow. Make sure that the resistance has the necessary resilience.
Attention: Some resistors create the specified e.g. 25 watts with sufficient cooling. A fan may be necessary. If possible, use a wire resistance.
So we proceed:
1. Zero comparison: We briefly close the inputs of the measuring module. No electricity can now flow. All magnetic fields and other interferers are banished from the environment. If the display now shows 0.00 A, you can congratulate yourself. They are already ready with the zero balance.
If not, then carefully change the factor that is 2,396 for me. For example on 2,410. If the electricity display now changes polarity and indicates a small value, then they went in the wrong direction. From the size of the change, you can calculate how far it is from zero.
If you want to simplify the work, replace the line in the dcurrenty It is calculated by:
dcurrenty = (volts_02 - 2.396)*1
// The "*1" is only a memory that a factor has to be here, Otherwise superfluous.
Have this value displayed and you will see the deviation immediately, without computing.
2. If that is done, you would have to stable a display 0.00 a receive. We can now test how exactly the measurement itself is.
The sketch is uploaded with the right correction factor for the zero position and otherwise as it is in my template.
Then make a series of measurements with 10 measurements of 0.5… 5 a and “fry” a little your resistance (finger away - get hot !!). They compare the series of measurements and correct the "empirical factor" (for me it is 1,045), so that the measured values of the TDMM and its comparison device match as precisely as possible in the entire measuring range.
Now a series of measurements with the negative values. If there are deviations (very unlikely), you may need the mean value from the positive and the negative flow as a compromise factor.
That wasn't complicated now?! Of course, you can make the entire process even more great, just as professional electronics technicians do. You write a measurement program. They gradually indicate the comparative value of the (higher quality) comparison device for measured values in each measuring range and the device to be compensated for is automatically calibrated. In this way, you can also gradually minimize non -linearities by gradually approaching the measuring range.
Maybe next time.
You now have a fairly decent, compact measuring device for DC voltages up to +/- 85 volts and +/- 5 A in your hands. Now we also want to measure resistance. We get to know a special and quite helpful function of the ADS1115.
Resistance measurement
We want to keep the effort within limits for our project. We decide to form a voltage divider from an unknown resistance and a very precisely known resistance. We measure the voltage on this voltage divider with the highest possible accuracy and achieve the unknown resistance value. Just sound - it's easy too.
Now for practical implementation.

First we need some additional components on our Breadboard.
We see a relay of the type Ky-019 at the top left, which is switched with "high" PIN D8. The relay changes between two resistors that are together at + 3.3V and each of the resistances on one of the relay switch contacts. The center connection of the relay leads to resistance, which is to be measured and at the same time to the last free analogue in our ADS1115, A3.
The circuit is explained in more detail. The resistance measurement is switched on and off with a switch, which we find in the top left corner of the Breadboard next to the relay. A resistance of 100K combines the A0 analogue input with mass. When the switch is switched on, it connects this resistance to the second R = 100K, which is connected to + 3.3 V. At the center of this voltage divider there is now a voltage of approx. 1.65 V, which is measured via A0. If the voltage on A0 goes from approx. 0 volts to approx. 1.65 V, the resistance measurement is activated. This may be a somewhat unusual way of switching on and off. However, it becomes clear in the next blog posts that no digital I/O-pins are free. Hence this way.
For example, if you need 5 switch positions (if only one of the switch positions are required), you can map these switch positions with 5 resistors.
How does the resistance measurement work?
The simplest type of resistance measurement uses the voltage divider. This is how DVMS or analog multimeters usually do it. This measurement method has advantages and disadvantages.
We see the circuit here:

The resistors R7 (470Ω) and R8 (4,700Ω) are our referential resistance with an accuracy of 1%. Resistance from the AZ Resistor Kit offer this accuracy and at the same time a good temperature stability. They can be used perfectly for our TDMM.
The resistance R9 is the "Dut", the "DEvice Under Test ”. We want to determine its value. Let's think about the measuring range in which we can measure sensibly.
We want to assume that our dut has a value of 100Ω. There is a voltage of 3,32 volts in the series circuit. R7 is used for this measurement, so that we have 470Ω + 200Ω = 670Ω as a total resistor on the 3.32 V reference voltage.
Accordingly, a voltage of 200/670 * 3.32 V = 0.991 volts is to be measured on the resistance R9, which is led from point 2 of the switch to connection A3 of the ADS1115. For the sake of simplicity, the relay contact is shown as a switch.
We can measure this voltage quite well and sufficiently in order to calculate the resistance value directly, because we already know the reference resistance with 1% accuracy.
Now let's look at the limits of this measurement procedure. In the table we see some measurement tasks that we want to cope with:

We find “200Ω” in the table.
Including "4700Ω". We come to one
Tension of 3.018 V on A3. To over 90% of the reference voltage (which is exactly 3.32 V with my D1 mini. The second decimal place is important! So please measure exactly).
If we look at the voltage leap, which arises when measuring 10Ω compared to 200Ω, it is almost 1 volt for 190Ω difference.
If you look at the voltage difference between 200 Ω and 4,700 Ω, that's around 2 volts, at 4,500 Ω difference. The measurement can no longer be as precise as that for 200 Ω. It becomes very difficult if we compare 22,000 Ω against 47,000 Ω. Here the difference is 37 mv (1 mv = 1/1000 V). Here the resolution of the measurement becomes so inaccurate that you can no longer work with it.
Expand measuring range
The ADS1115 provides us with an integrated problem solver that is for us for small Tensions very nicely help: the PGA. The "Program Gain AMplifier ”increases the adjacent signal with an accuracy of 0.01% by a factor up to 16. At the same time, we the permissible measuring range for any reinforcement a little smaller, which does not bother us, because we want to measure small tensions.
The ADS1115 -library again provides a good and detailed explanation. We use this function extensively in a sketch to achieve the maximum accuracy with every measurement. This works extremely well for all resistors that lie in the lower part of the measuring range. We take a closer look at this in a sketch.
Our measuring range is between (almost) 0 Ω and 500 kΩ. From approx. 200 kΩ, the measurement error can be over 10% - our TDMM becomes a "truck".
The sketch
void Resistor () {
float mesres=470;
VRES_01 = Ads.readadc (3);
Resvolts_01 = Ads.Tovoltage (VRES_01);
IF (Resvolts_01 >= 3.2) {
Ads.Setgain (0); digital(15, HIGH); mesres=4700; delay(500);
}
Else IF (Resvolts_01 < 3.2 && Resvolts_01 >= 1.37) {
Ads.Setgain (1);
}
Else IF (Resvolts_01 < 1.37 && Resvolts_01 >= 0.68) {
Ads.Setgain (2);
}
Else IF (Resvolts_01 < 0.68 && Resvolts_01 >= 0.34) {
Ads.Setgain (4);
}
Else IF (Resvolts_01 < 0.34 && Resvolts_01 >= 0.17) {
Ads.Setgain (8);
}
Else {
Ads.Setgain (16);
}
VRES_01=0; Resvolts_01=0; float voltsum=0;
for (intimately X=0; X<10; X++){ // Measure Voltage at Divider
VRES_01 = Ads.readadc (3);
Resvolts_01 = Ads.Tovoltage (VRES_01);
voltsum=voltsum+resvolts_01;
delay(2); // Delay 2ms
}
Resvolts_01=voltsum/10; // Mean Value of Voltage
resval= Resvolts_01*mesres/(3.32-resvolts_01);
IF (Resval <0){
resval=999999;
}
digital(15, Low); // relay off
String ohmstring = String(resval);
U8G2.set font(U8G2_FONT_CU12_T_SYMBOLS);
U8G2.setcursor(0, 0);
U8G2.print("R:"); U8G2.print(Ohmstring);
U8G2.print("\ u2126");
U8G2.Send buffer ();
U8G2.set font(U8G2_FONT_NCENB12_TF);
Serial.print("R:"); Serial.print(intimately(resval)); Serial.print("Ohm");
}
We look at the "Resistor" function here. It begins with the fact that the tension on the dut is measured once to determine the measuring range. If the voltage is> 3.2 V, the relay switches to the 4,700 ω - resistance and the variable mesres get their value 4700.
A number of case differentiation follows, so that depending on the first time measured voltage, the reinforcement of the PGA with the command Ads.setgain (int X) is adapted to the optimal measuring range.
Only after the settings have been made, the actual measurements, again with 10 measurements and average formation.
Before you set up your resistance measurement, you should measure the actual tension at the "3.3V" output of your D1 Mini. This value probably deviates from the 3,32 V, which I find on my D1 mini. But: this value is absolutely relevant. He should be right. So please adjust in a sketch according to the exact measurement.
If the terminals are open - so there is no resistance in the measurable area - then the value "999999" is issued. Sometimes the condition "Rescal <0" is not met despite the open clamps. Then a mostly fluctuating, very high resistance value is displayed.
The value is displayed on the display and transmitted via Serial USB. Please currently ignore all instructions "Td.Say ()", which are already part of the later voice output (next post).
First experiences
The small device impressed me especially during the resistance measurements (no self -praise!) - also some of my "electronic friends". The quality of the measurement results in the range up to maybe 100kΩ (depending on the comparison) is hardly expected from such a simple device. We owe this to the PGA of the ADS1115 and its built -in reference voltage source.
If you want this, you can define a resistance value as a "pass". If this value is reached or fallen below, the TDMM can say "round" when it comes to the voice output. More of that next time.
outlook
In the next blog post, the TDMM learns and we get to know the DFPlayer in more detail.
Best regards
Michael Klein


3 comentarios
Tilo Reppe
Hallo Michael Klein,
Dass ich den D1 nicht erreichen konnte lag nicht am Board Manager. Ich habe mir folgenden Hinweis in Deine Bauanleitung Teil 1 eingefügt:
“Damit ESP8266 Boards, wie das D1 mini, genutzt werden können muss in den Voreinstellungen des Arduino IDLE bei zusätzliche Board Verwalter URLs:
http://arduino.esp8266.com/stable/package_esp8266com_index.json
eingegeben werden. Dann können Boards mit ESP8266 Chipsatz in der Board Verwaltung ausgewählt werden. Für den (AZ-Delivery) D1 mini V3 hat sich LOLIN D1 mini pro bewährt.”
Ich bin eher der Elektroniker, nicht der Programmierer, das hilft mir.
Vielen dank für die tolle Messgerät Idee.
Bin gespannt, wie es weitergeht.
Eine komplette Teileliste am Anfang würde mehrere Bestellungen ersparen.
Mit freundlichen Grüßen
Tilo Reppe
Andreas Wolter
@Peter Wässerer: danke für den Hinweis zum .png
Wurde entfernt.
Grüße,
Andreas Wolter
AZ-Delivery Blog
Peter Wässerer
Hallo Michael Klein,
vielen Dank für den spannenden und guten Blog.
Freue mich auf die nächsten Teile.
Mit freundlichen Grüßen
Peter Wässerer
▼▼▼
Hinweis:
Es gibt keinen Link zu “Messbereichswahl.png”