Hello and welcome to today's blog post.
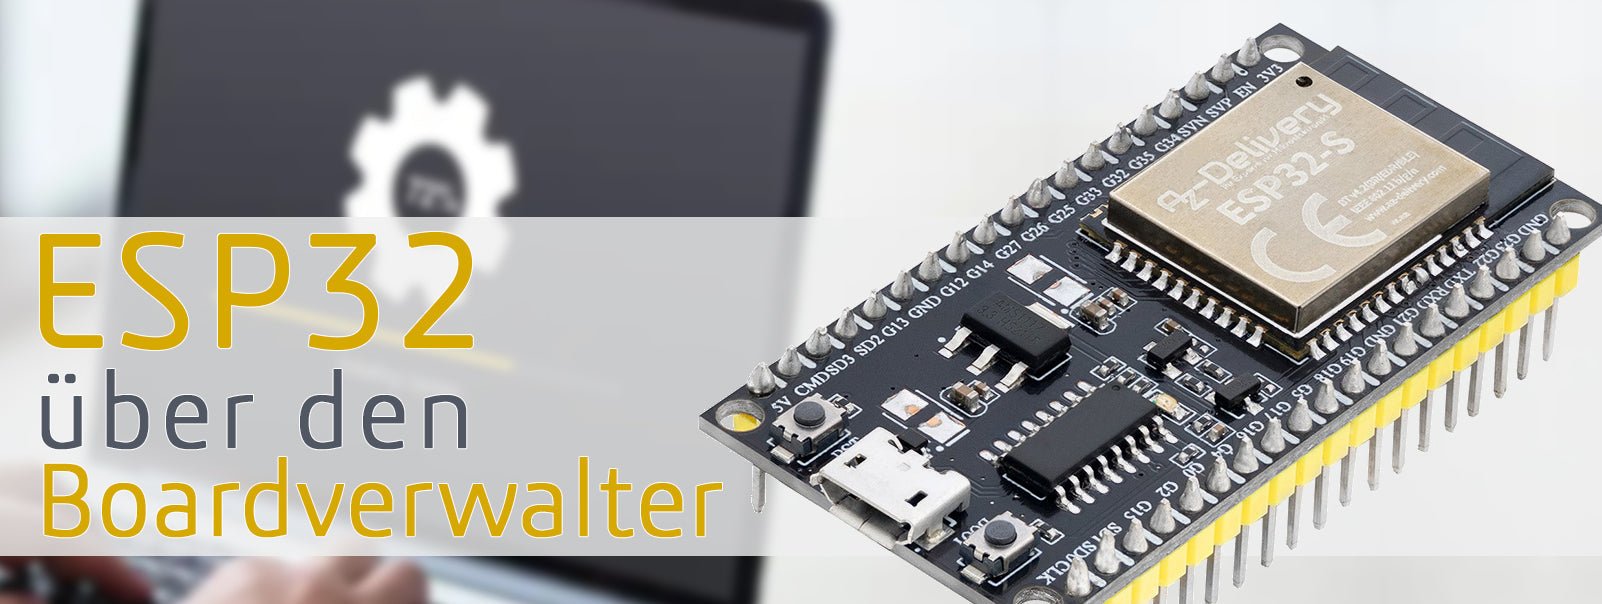
The ESP32 is the successor of the popular ESP8266. We offer it in different versions. From the slim breadboard-friendly ESP32S kit version with separate WLAN antenna connector, to the NodeMCU development board, to the model with integrated OLED and LoRa.
The ESP32 offers several improvements over the ESP8266. In addition to the increase in processing power and memory, and the improved WLAN and Bluetooth 4.2 support, the ESP32 offers a variety of integrated sensors (Hall, temperature, touch and pulse).
Anyone who has already put an ESP32 into operation knows the problem: setup requires downloading the Arduino Core files by hand, as described in our eBook. These must then be unzipped and copied into a self-created folder "..\Arduino\hardware\espressif\esp32". After that the file "get.exe" has to be executed in the subfolder "tools".
The good news: it can also be installed more easily via the board manager.
If you have already installed the ESP32 support like me, you need to do a few preparatory steps first. If not, you can skip the first step.
1. Preparation
Close the Arduino IDE.
On Windows:
Switch to your Arduino folder:
C:\Users\<name>\Documents\Arduino\hardware\espressif
The "ESP32" folder should be here.
In the newer version you can find this folder under
C:\Users\<name>\AppData\Local\Arduino15\packages
On Linux:
/<ARDUINO ORDNER>/hardware/espressif
Delete the folder "esp32"
After restarting the Arduino IDE all boards with ESP32 are now gone from the board manager.
Alternatively, you can also open the board manager under Tools -> Board -> Board manager and remove the installed ESP32 core there.
2. Add board administrator URL
Open the default settings under "File" -> "Preferences". Now click the icon to the right of the input field for "Additional Board Administrator URLs".

A window will now open where we can add the link to the board administrator URL. The current link is:
https://raw.githubusercontent.com/espressif/arduino-esp32/gh-pages/package_esp32_index.json
You can find more information about the Arduino Core here.

We confirm the entry with a click on "OK" and also close the default settings by clicking on "OK".
3. Install via the board manager
As a last step, we now open the board manager via "Tools" -> "Board" -> "Board Manager".

If we now enter "esp32" in the search field, an entry from Espressif Systems should appear, which we select and install by clicking on the corresponding button.

All required files are now downloaded and installed.
The ESP32 modules are now available in the board administrator:

If an update is available, you can then install it in the board manager by clicking on "Update".
In some cases, in the interaction of older program libraries with version 2.0.2 of the ESP32 Arduino Cores, problems can arise. There are some non -resolved Bugs. In this case, it could help if you go back to an older version. Most of the time, version 1.0.6 or 2.0.0:

Another note:
If you start directly and want to upload the blink sketch for a first test as usual, the first problem could already occur. The used constate LED_BUILTIN does not exist in the ESP32 core. If you insert this line above the setup() function, the compilation should work:
#define Led_builtin 2
However, some ESP32 development boards have no onboard LED. This would then have to be connected to PIN 2 (with resistance).
You can simply use the following little sketch that outputs the flashing in text form on the serial monitor.
String LEDText[2] = {"AN", "AUS"};
bool blinkState = LOW;

void setup() {
  Serial.begin(115200);
  Serial.println("Programmstart. Blinken mit Text.");
}

void loop() {
  Serial.println(LEDText[blinkState]);
  blinkState = !blinkState;
  delay(1000);
}
Upload to the ESP32

For those who are not yet used to uploading to an ESP32, the note: After compiling, the Arduino IDE would like to connect to the microcontroller. For uploading, you may then have to press the boot button on the development board (possibly also pressed) so that the ESP is transferred to the corresponding mode.


55 comments
Klaus
Der Versuch mittels Boardverwalter “ESP32 by Espressif” zu installieren endet mit der Fehlermeldung: "Werkzeug extensa-esp32… ist für Ihr Betriebssystem nicht verfügbar.
OS=Raspian 9 (Stretch), Arduino IDE=1.8.8
Also ESP32 nur über Windows zu programmieren??
Martin
Ich erhalte folgenden Fehler:
“Fehler beim Herunterladen von https://dl.espressif.com/dl/package_esp32_index.json”, sobald der Boardverwalter gestartet wird.
Any thoughts ?
Michael
An und für sich geht das Einbinden des ESP32 Boards bei meinem Windows Rechner einwandfrei. Für den Raspberry den ich als Entwicklungsumgebung benutze ist aber leider die “xtensa-esp32-elf-gcc” nicht verfügbar. Somit fällt der zur Zeit noch für den ESP32 aus. Bin mir nicht sicher ob es damit dann klappen würde?
http://iot-bits.com/esp32/getting-started-with-esp32-esp-idf-part-1/
http://iot-bits.com/esp32/getting-started-with-esp32-esp-idf-part-2/
http://iot-bits.com/esp32/getting-started-with-esp32-esp-idf-part-3/
Hat hier schon jemand Erfahrungen gesammelt?
Ralf Naues
Danke, das geht nun wirklich einfach -:)
Eugen Stephan
Gute Nachricht.
Endlich kann man die Board-Software automatisch installieren.
Allerdings im e-Book zum ESP32 ist immer noch die alte manuelle Methode beschrieben.
Das sollte man schnell nachholen.